DIY Melt and Pour Soap:
If you’re looking for a simple and satisfying DIY project, melt and pour soap is a perfect place to start. Whether you're creating homemade gifts, starting a small business, or just treating yourself to a creative craft, making your own soap is easier (and more fun!) than you might think.
What is Melt and Pour Soap?
Melt and pour soap is a pre-made base that’s ready to use — all you need to do is melt it, add your favourite colours, scents and pour it into a mould. No lye, no curing time, no stress.
What You’ll Need:
-
Melt and pour soap base (Goats milk, Shea butter, Aloe vera, Argan oil, Castor oil, Clear, and White)
-
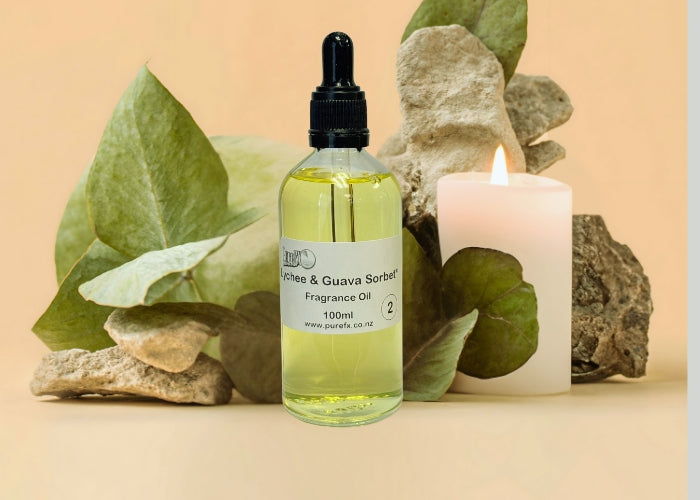
Fragrance oils or essential oils (Whichever you prefer)
-
Soap-safe colourants (liquid soap dye, mica, or natural clays)
-
Microwave or double boiler
-
Mixing utensils and a heatproof jug
Step-by-Step Guide:
-
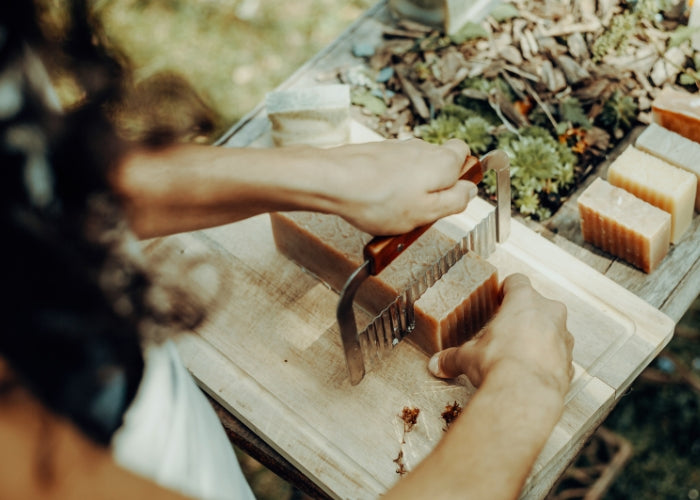
Cut the base into small cubes for easy melting.
-
Melt the soap in a microwave (30-second bursts, stirring in between) or on the stove using a double boiler.
-
Add your fragrance and colour once the base is fully melted. Stir well. (You may add upto 5% off additives to your base. For example you can add upto 50grams of additives into a 1kg block of melt and pour soap.)
-
Pour into your moulds carefully and let the soap cool and harden for 1–2 hours.
-
Spritz with Isopropyl alchohol to remove all air bubbles.
-
Pop out and enjoy! Your soap is ready to use straight away.
Fun Facts About Melt and Pour Soap:
-
🧼 Instant Gratification: Unlike cold process soap, melt and pour is ready to use as soon as it cools.
-
🌿 Perfect for Kids: It’s safe and easy — a great craft activity for kids (with supervision).
-
🎨 Get Creative: Layer colours, Try different molds, or swirl in mica for unique designs.
-
💡 Low Startup Cost: Great for small businesses or side hustles without needing heavy equipment.
-
🧴 Endless Customisation: From skin-loving additives like oatmeal and clay to seasonal scents and shapes — the possibilities are endless.
Tips for Best Results:
-
Don’t overheat the soap base — it can scorch or lose clarity.
-
Spritz the surface with rubbing alcohol after pouring to eliminate bubbles.

